DIY Lazy Susan Shoe Storage
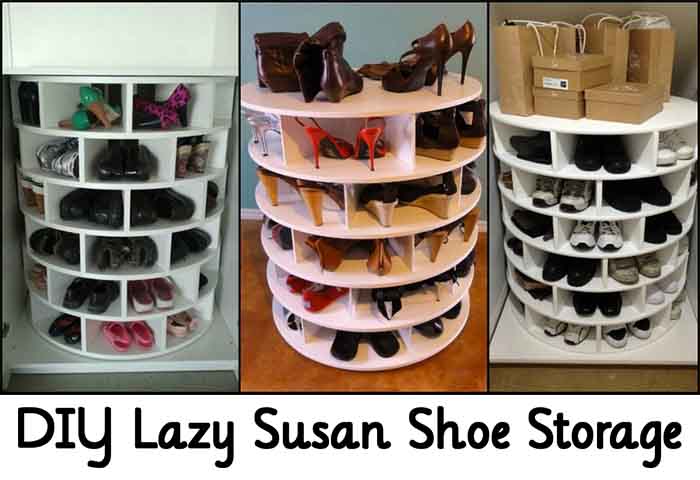
Image: theownerbuildernetwork.co
👠 Say Goodbye to Closet Clutter!
This genius DIY Lazy Susan Shoe Storage idea is here to revolutionize your space! 🚀
If you’re tired of tripping over shoes or digging through piles just to find your favorite pair, this simple yet brilliant solution will change your closet game forever. Traditional shoe racks take up too much room and leave shoes jammed in dark corners. But this? It’s a game-changer.
🔄 Why a Lazy Susan?
The secret to this design is the Lazy Susan mechanism that spins your shoe storage with just one smooth turn, making every pair easily accessible—no more lost shoes hiding at the back!
-
Customizable layers based on your closet size and shoe collection
-
No more clutter—all shoes get their moment front and center
-
Optional tall dividers for boots or high-tops
🛠 What You’ll Need
-
9 pcs 700mm diameter plywood discs
-
24 pcs 250x150mm plywood standard dividers
-
5 pcs 250x500mm plywood tall dividers (optional)
-
Lazy Susan mechanisms, nails, PVA glue, epoxy glue, paint
-
Basic tools: saw, router, rollers, protractor
💥 Why You NEED This Storage Solution
-
Maximize your closet space and fit more shoes without extra bulk
-
Quick access to every pair—no more digging or frustration
-
Affordable and easy to build with common materials
-
Stylish, neat display that shows off your footwear
-
Customizable design to fit your exact needs
🎨 Bonus: Style It Your Way!
Once built, paint it any color to match your closet decor or personal style. This DIY project is not only practical but can be a fun creative outlet!
✨ Transform your closet into a clutter-free, stylish zone where your shoes finally get the spotlight they deserve. This viral DIY is a must-try!
For the full step-by-step guide and exact measurements, visit here: DIY Lazy Susan Shoe Storage